If you’re like me, which I am going to assume you all are, you want to change your art work with every passing season and holiday – am I right? I know I do. I have certain art pieces which always stay in place, but I like to have some seasonal pieces as well, to change up and keep it interesting. I love all of the word art that is popular now, and I found a quick and easy way to make your own. And best of all, it’s free!

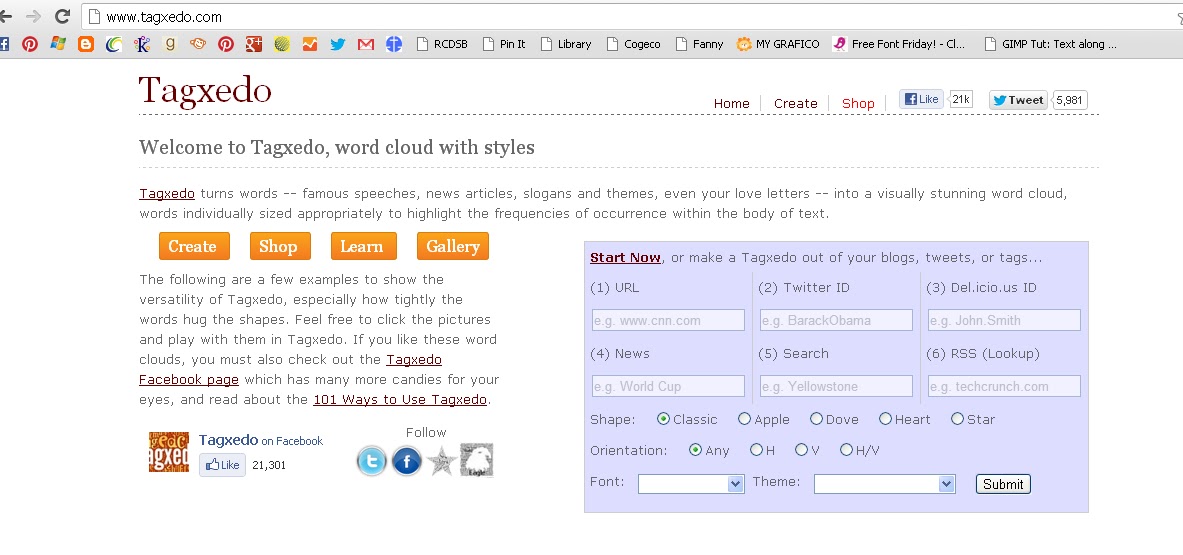
Have you ever used tagxedo? It’s a webpage that makes word clouds that you can save and print at home. They have tons of color and theme options, many different fonts, and a large selection of shapes that you can make your word cloud into. It’s really easy to use, here’s how:
1. Go to tagxedo and click on create.
2. On the left hand side are all of your setting options. I typed what they do onto the image, but it is a bit small, so I will type them here again:
- Color: switches the colors of the current theme around.
- Theme: switches the color theme and background colors.
- Font: I hope this is self explanatory.
- Orientation: Changes the orientation of the words, not the image. You have three options: horizontal, vertical, or a combo of the two (H/V)
- Layout: switches the layout of the words around.
- All: switches all of the above to random settings.
- Respin arrow: random selection
- Right arrow: make your own selection
At the bottom of the image you see the options that the current image is using – the shape, the fonts, and the theme.
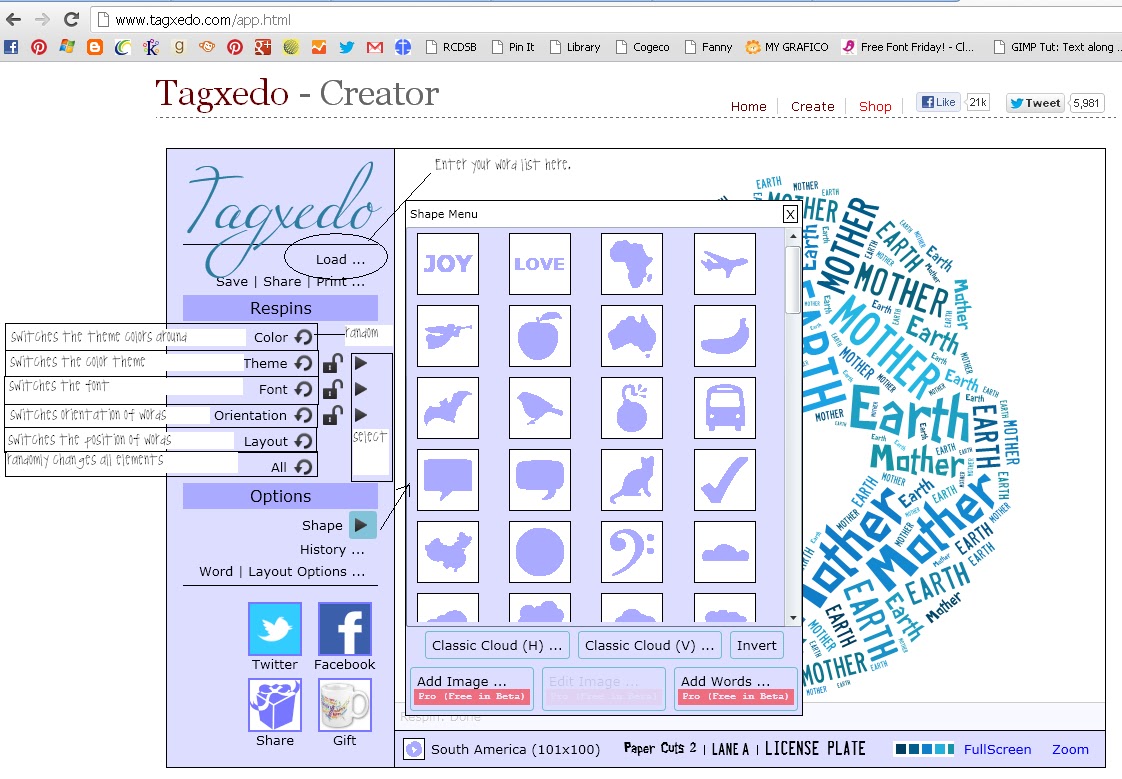
3. To load your own set of words, choose the “Load…” option. From here you can enter a URL and tagxedo will make a word cloud of all of the words on that page, or you can enter a word list into the box. (Are you cringing at typing in all of those words? Don’t! I googled “Fall vocab list” and “Halloween words” was given a great list that I copied and pasted – use the Ctrl+V code, since right clicking will not work in this app. You can go through and delete the words you don’t want, and you can paste them with commas in between or in separate rows like a list.)

Once I changed all of my settings and had my words in place, I had cute printables for Fall and Halloween! It does come with a tagxedo border, but when you go to print it, you can crop the image or cut it off after you print it.
Pleas note that tagxedo terms of use does not let you make these for commercial purposes, but they certainly are great for decorating your own home or making a gift for a friend. Here are some I made:
Back to school…

Fall or Autumn…

… and Halloween!

Are you going to go make one? Let me know, I’d love to see it!
Shannah @ Just Us Four says
Thank you so much for linking these up to the Pinworthy Projects Party last week. You were featured today! I hope you will come grab a button!
Megan says
This is so awesome. I had never heard of Tagexdo and love your quick tutorial! *found via Just Us Four*
Monica says
Thanks for sharing this!!! How awesome!
crafty grandma says
Not only is this is absolutely awesome but it is sooooo easy and best of all you don’t have to download anything!!! I already did a halloween one and one for my unfinished laundry room. thanks so much for sharing
Merlynn H.W. says
That is SO COOL! Yes, I’m truly going to try this. Would be nice for a teacher gift too. Thank you for sharing.
[email protected] says
This is great! You should enter your photos into Craftbaby’s Halloween Decor Challenge! 🙂 http://www.craftbaby.com/contests/32/halloween-decor
spldbch says
Cool! Thanks for the link!!!
patty sfo says
Thanks for this tutorial,is awesome.I alredy make one for each one in my house.
best wishes from Lima -Peru.
patty sfo says
Hi Sarah: my name is Patty I´m a mom of two,I lived in Lima-Peru and I love to make a lot of things to my house.
Ifollow you on pinterest too.
best wishes
Patty
Eunice says
What if I want to use my own list of words?
Sarah says
You can use your own words on the page – if you want certain words to be bigger, you just need to enter them more than once on the list! Hope this helps!
Susan says
I used the words from my novel to make a great piece of art. Thank you for sharing how to do this. It came out great! I can’t wait to share it with everyone.